 Jamie Bradley
Reaching New Heights with Astro: Getting Started

Astro is a static site builder/web framework that comes loaded with features that help you develop supersonic content based websites:
- Component Islands: A new web architecture for building faster websites.
- Server-first API design: Move expensive hydration off of your users’ devices.
- Zero JS, by default: No JavaScript runtime overhead to slow you down.
- Edge-ready: Deploy anywhere, even a global edge runtime like Deno or Cloudflare.
- Customizable: Tailwind, MDX, and 100+ other integrations to choose from.
- UI-agnostic: Supports React, Preact, Svelte, Vue, Solid, Lit and more.
I love Astro.
I haven't been this excited about a development framework in such a long time. This is why we (StackUp Digital) decided to become a Gold Sponsor of Astro; to invest in Astro's future and help the team work towards version one.
The Astro team have reached this milestone and have confirmed a date for the official launch of Version One
I know other developers will be excited about Astro too, and I assume you're here to learn more about Astro!
In this series of posts I will be writing about some of the features that make Astro stand out. We're going to kick start the series with a guide to getting started with Astro. So sit back, relax and get ready to be blown away with this astronomical framework!
Installation
There are two ways to install Astro; automatic or manual. The automatic approach uses the create-astro CLI tool and is the quickest way to get started, so we're going to use the automatic approach.
I would strongly encourage you to read the manual installation guide if you decide to use Astro again, this will help you understand the installation process, which could be useful for debugging setup issues in the future.
Running the Wizard
The create-astro tool comes with a setup wizard that we can run with one of the following commands:
# npm
npm create astro@latest

# yarn
yarn create astro
Heads Up! I prefer to use Yarn over NPM, so for the remainder of this series I will continue to use Yarn to install dependencies.
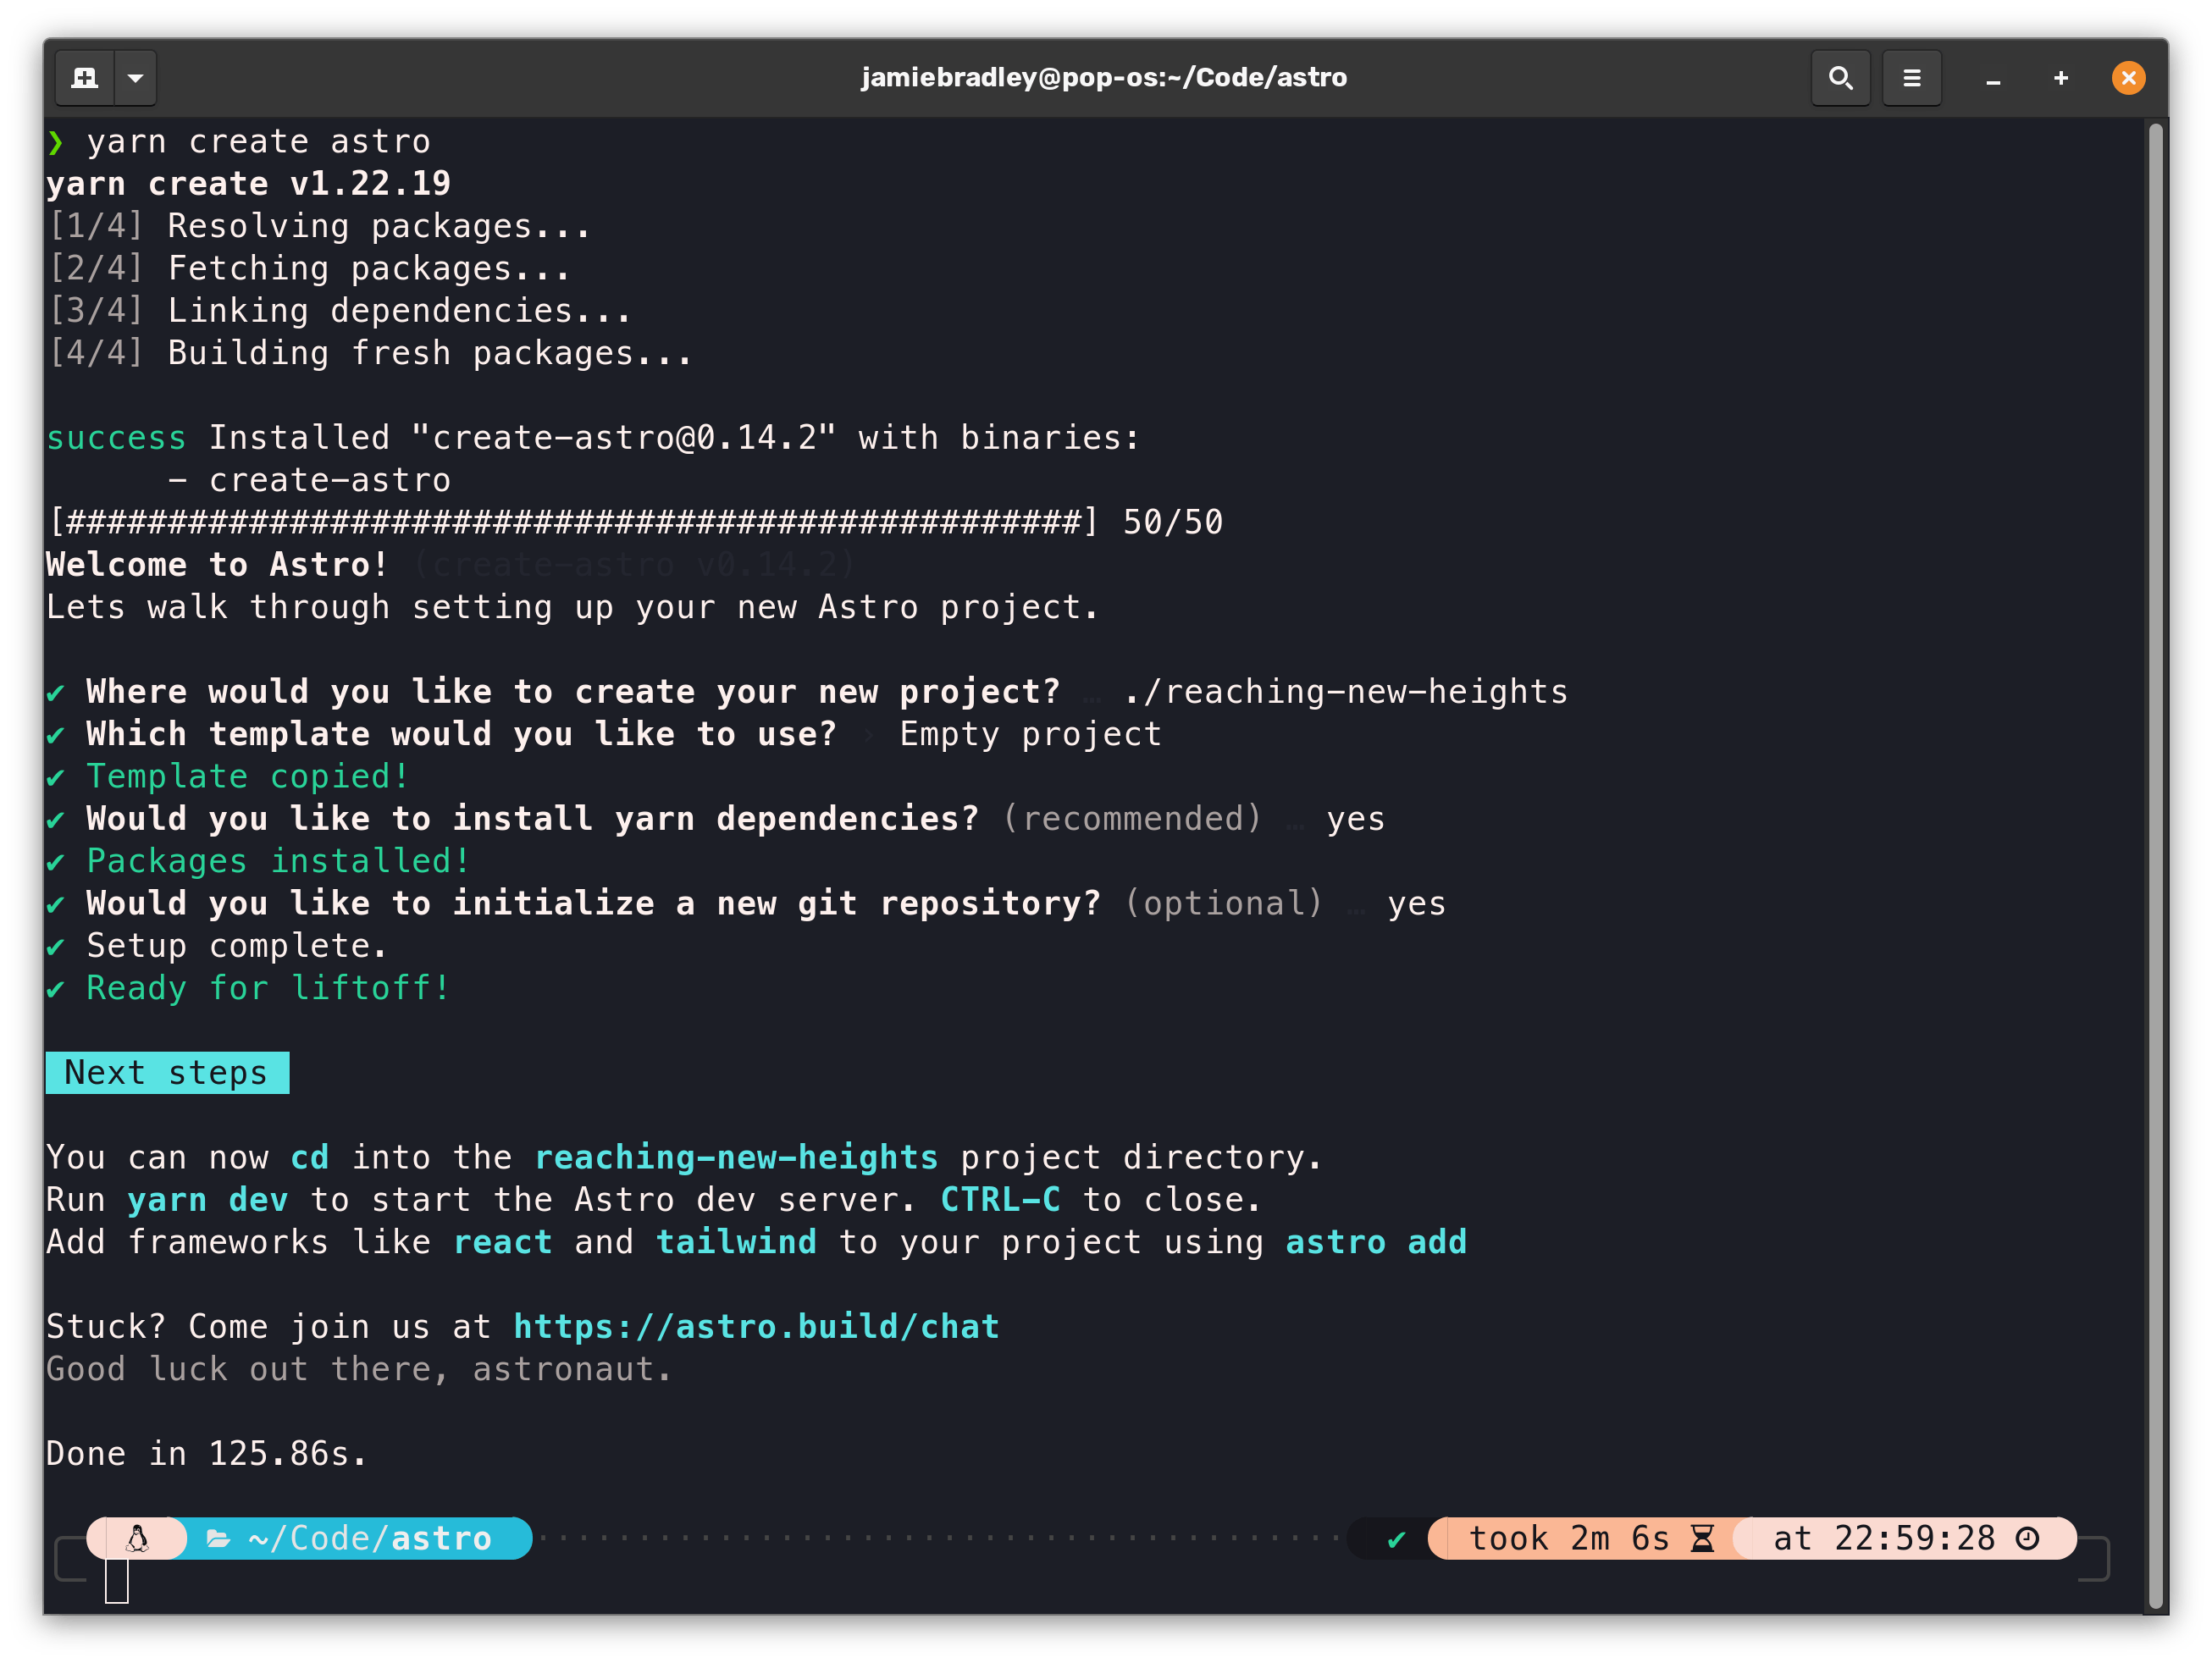
After running the command, you will be asked a series of questions and the tool will walk you through the process of setting up an Astro project. You can run the command anywhere within your file system, the wizard will help you create a new directory if you need to.
The screenshot below shows the options that I selected when running the wizard. For the purpose of this tutorial, be sure to select the 'Empty Project' template.
Time for Lift Off!
If all is well, your terminal's output should look similar to mine above. Now it's time to start it up! The create-astro wizard has populated our package.json file with some handy scripts that we can use. To run Astro in development mode, we need to use the dev script from the root of our project (notice the cd command below).
# Navigate to your project directory.
# In my case it is ./reaching-new-heights

cd ./reaching-new-heights

# Start Astro
# Remember to use your preferred package manager's command
# i.e. `yarn` or `npm`

yarn dev
If all is well, your terminal will look like the screenshot below:
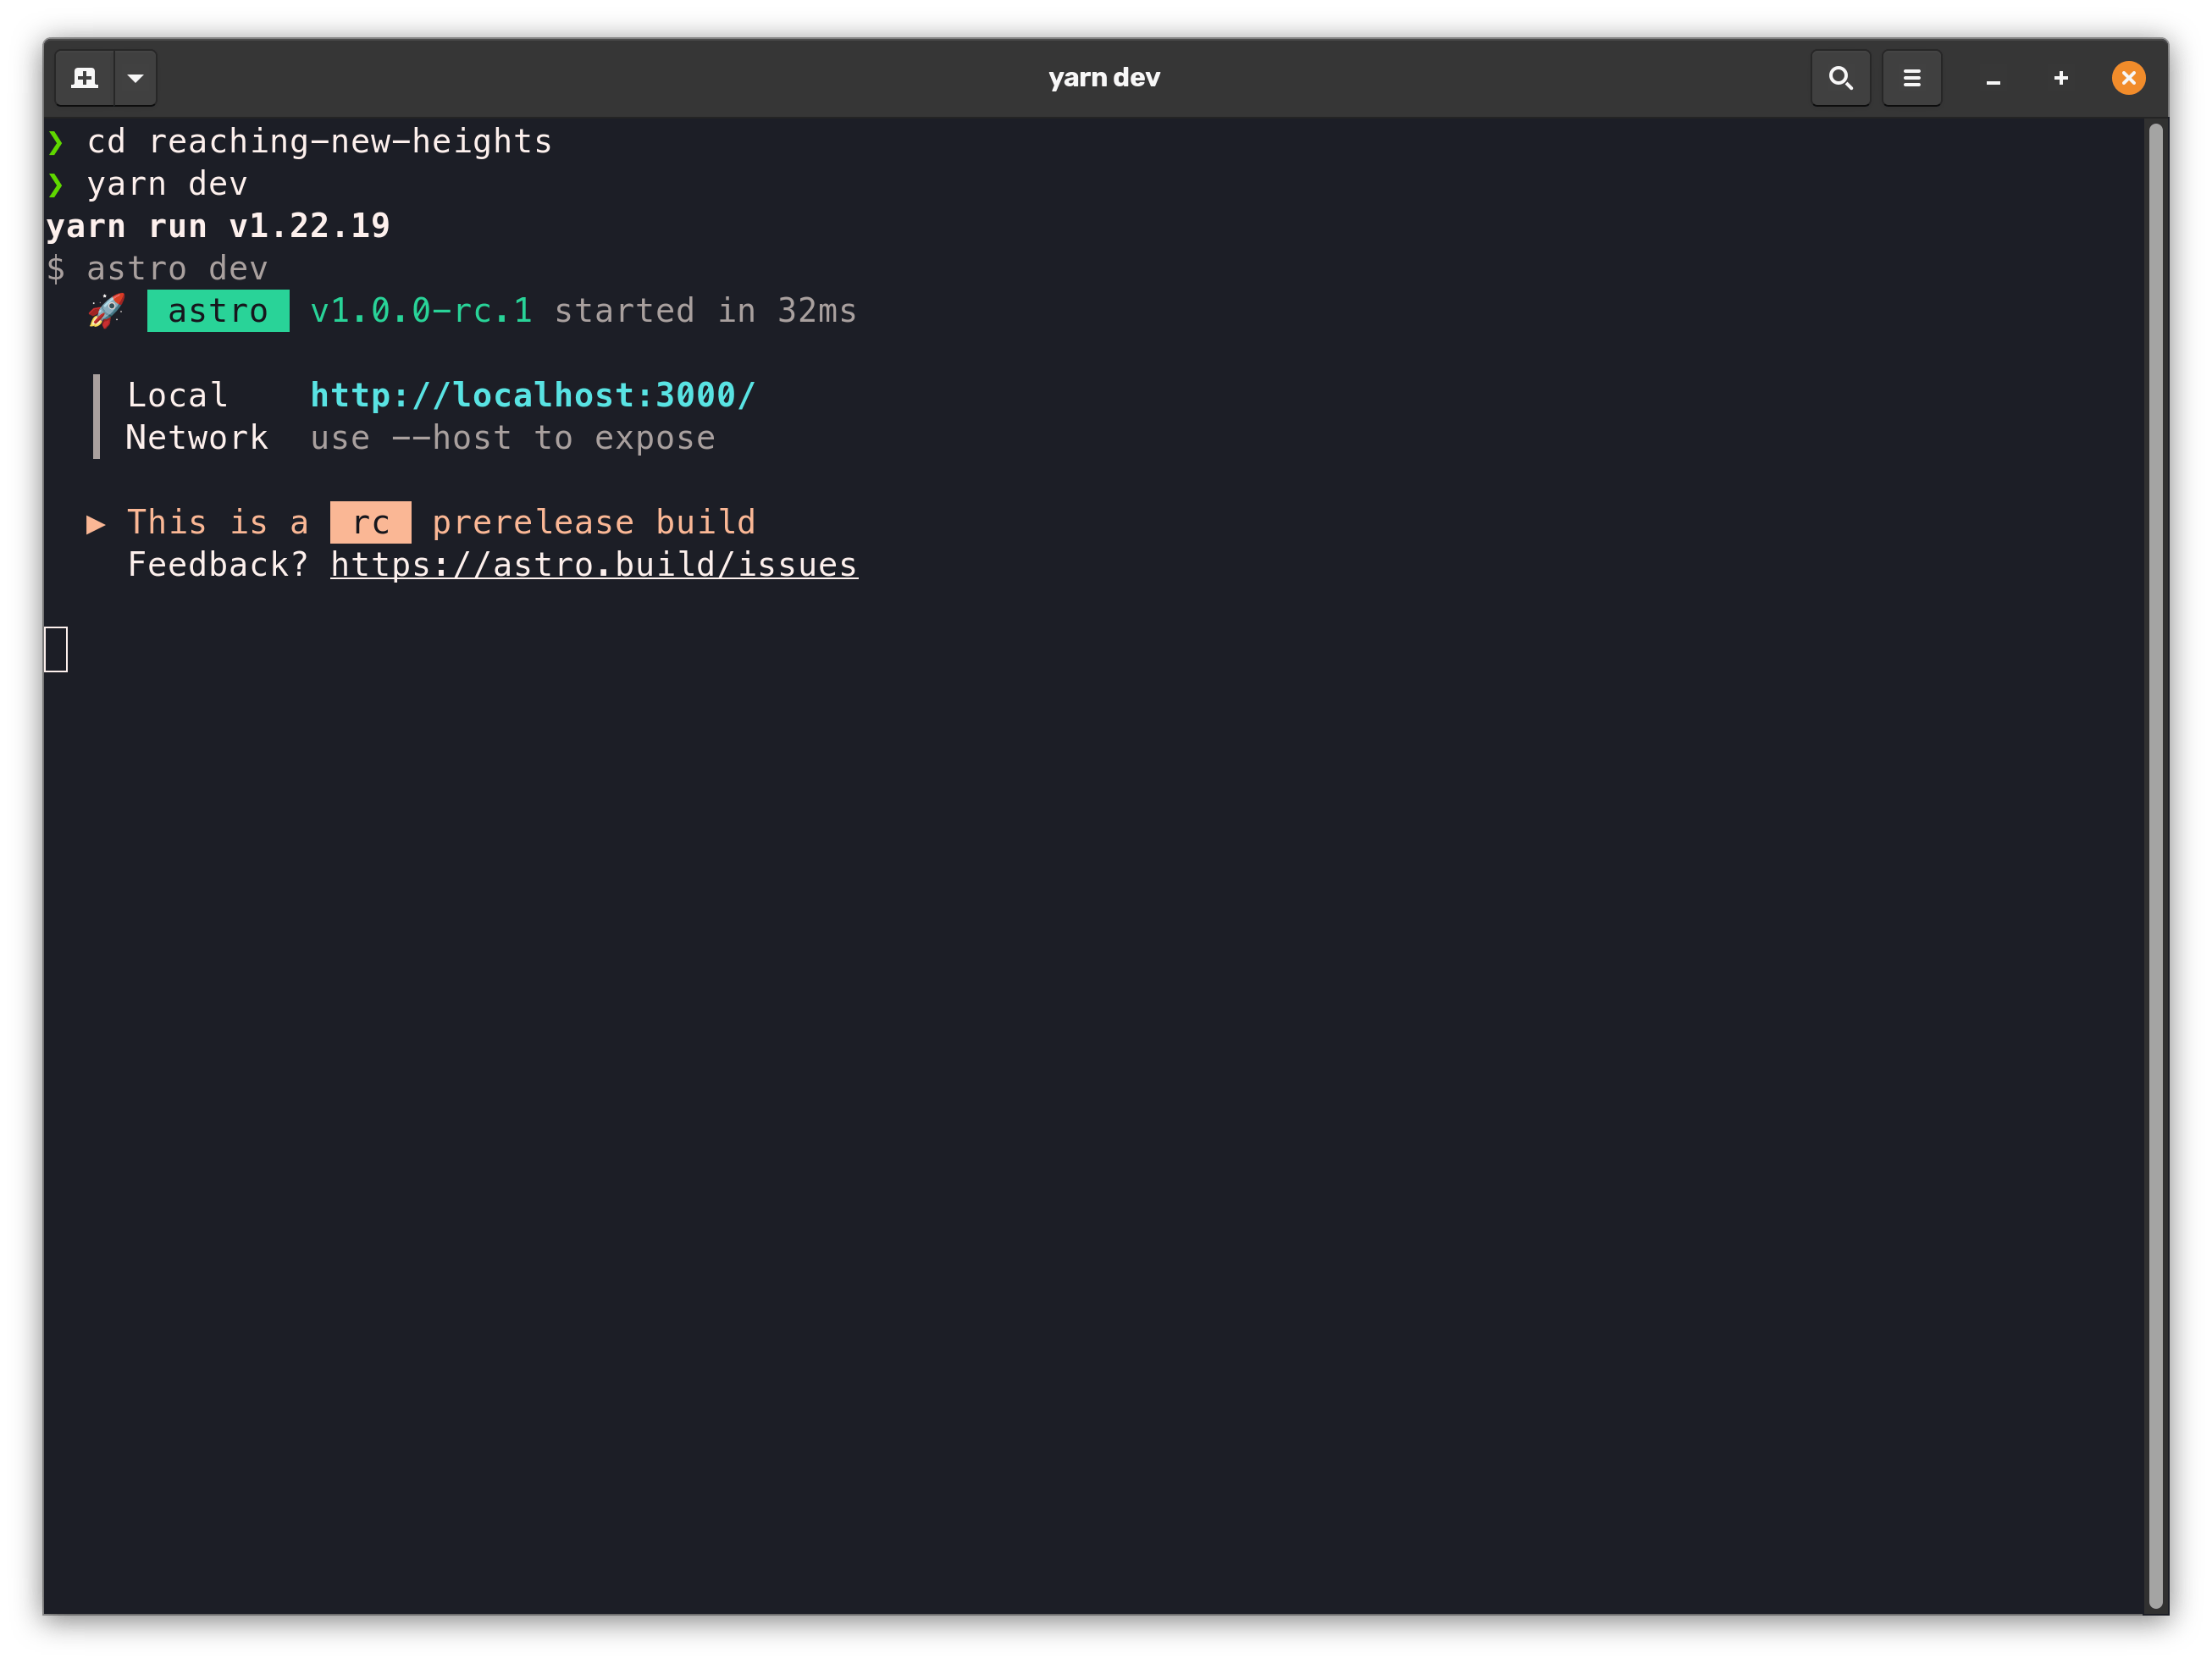
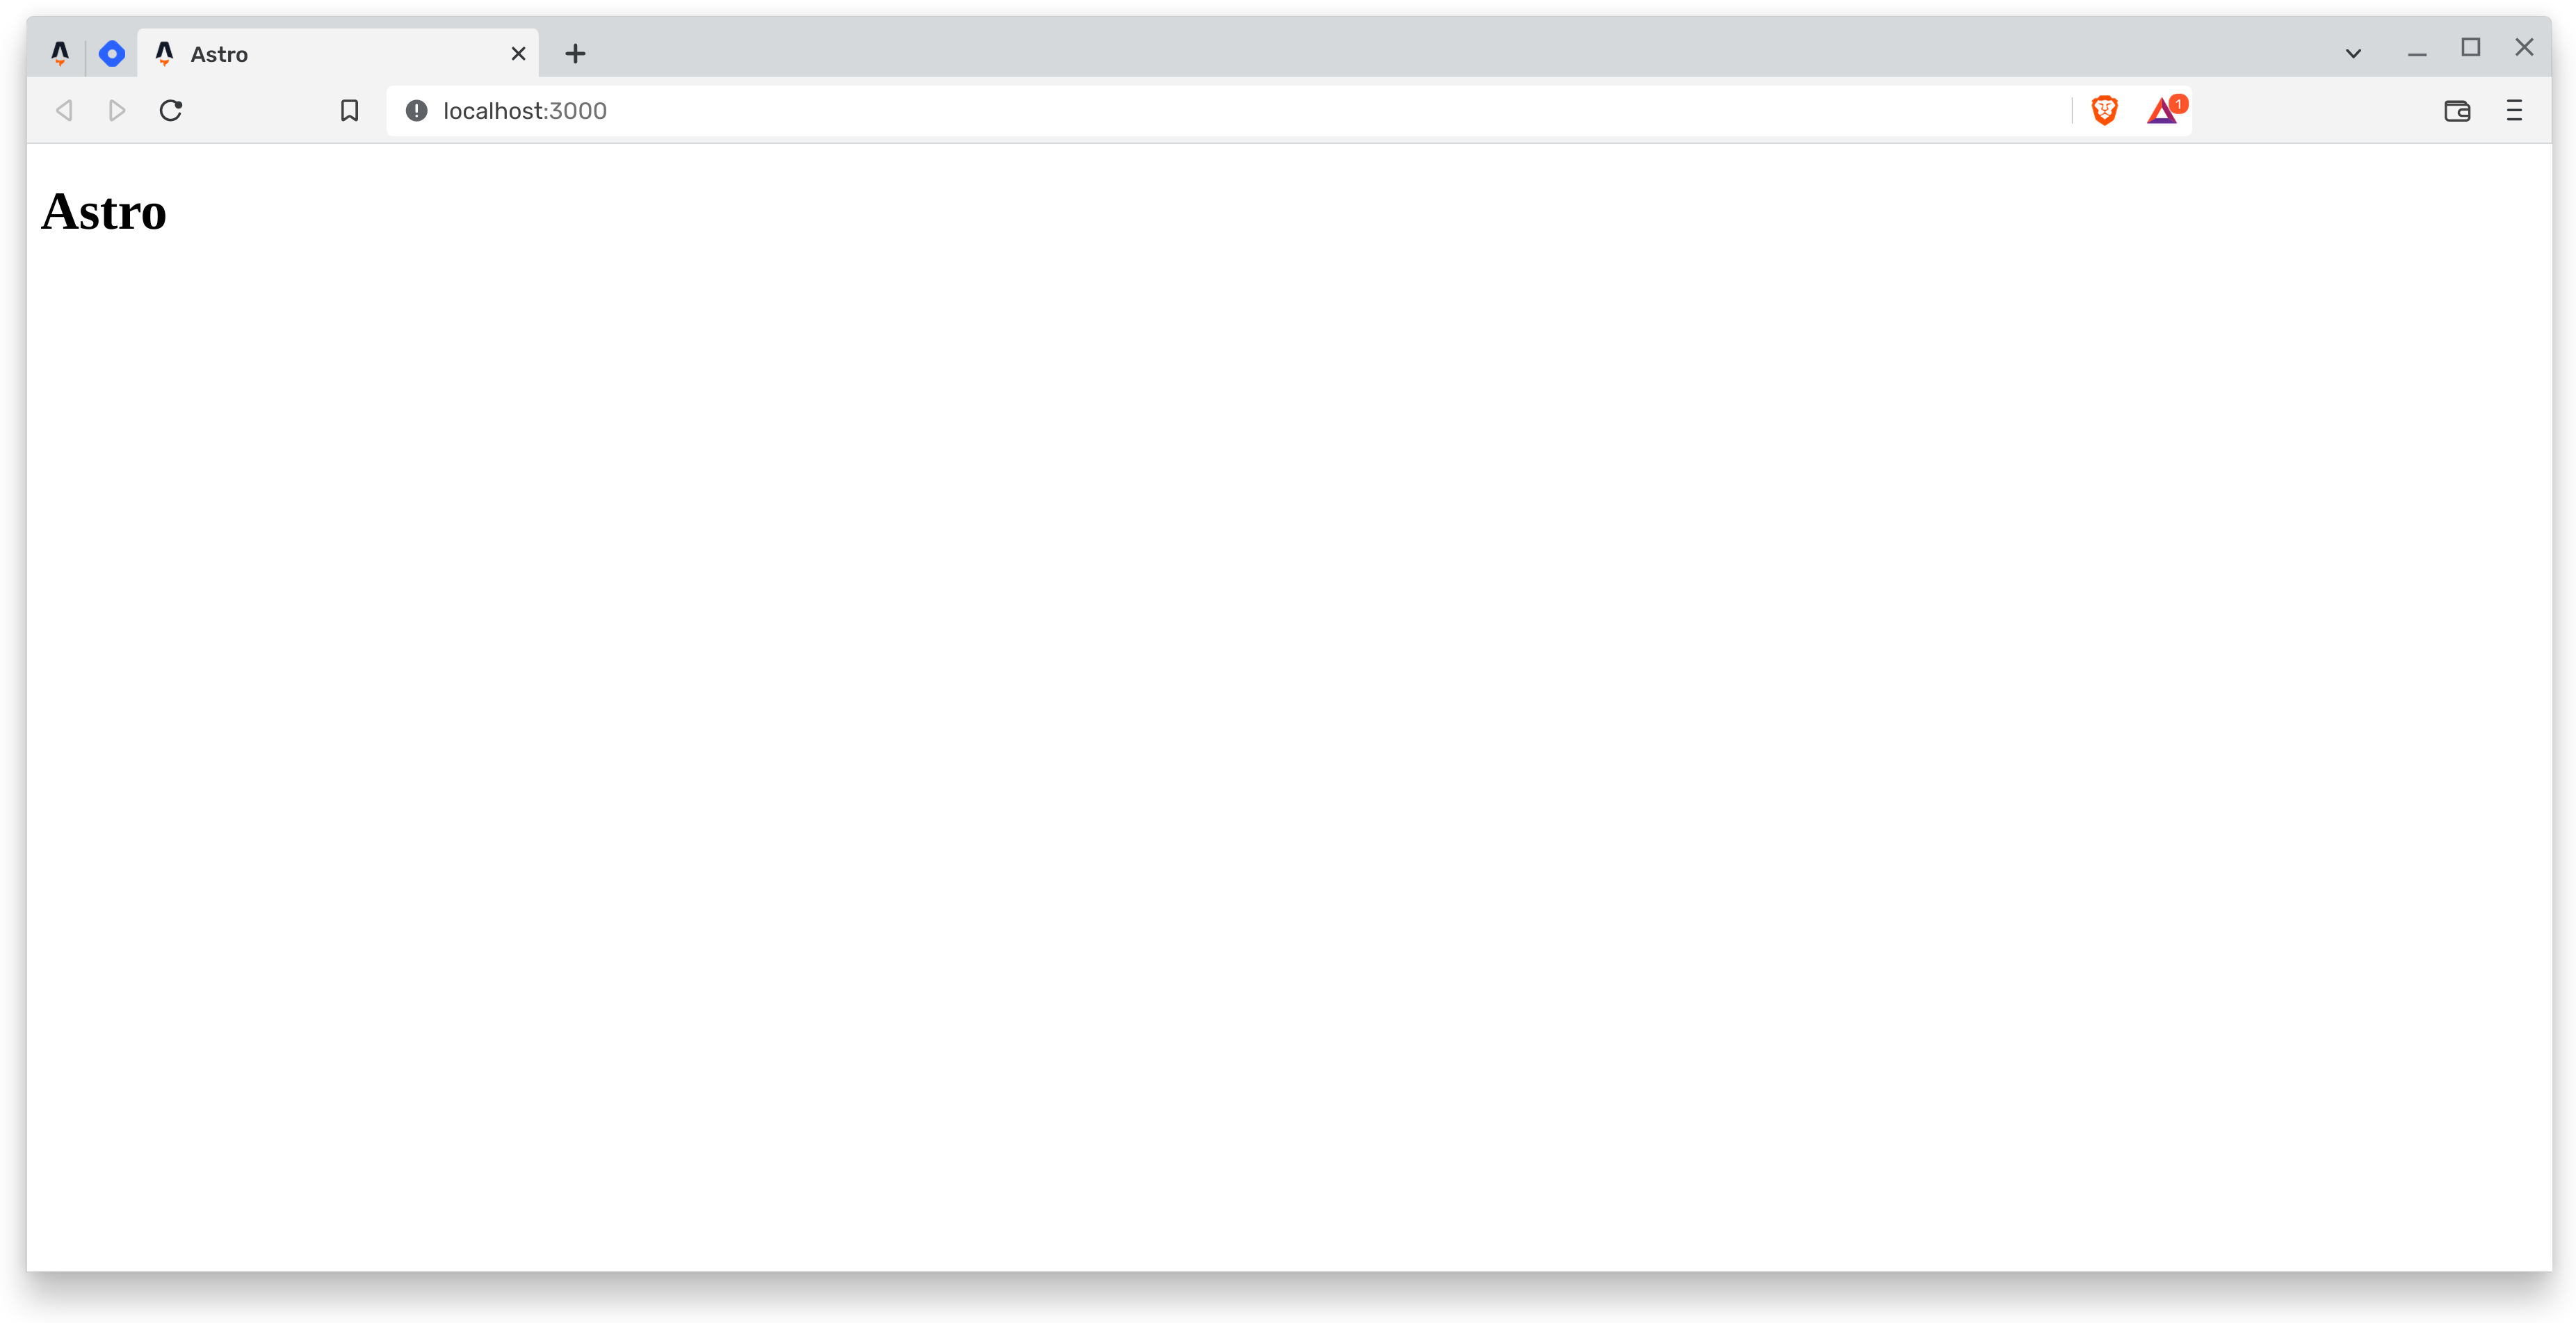
You will see that Astro has started a local development server on port 3000. We can view our new Astro website in the browser by visiting http://localhost:3000.
Since we opted for the "Empty Project" template, our site currently looks pretty boring. But congratulations, you just created your first Astro project!
Project Structure
Open your newly created project in a code editor of your choice, I'll be using VS Code throughout this series.
Top Tip: If you are also using VS Code then take a look at the official Astro Extension for VS Code. It will bring language support for .astro files, auto formatting and much more!
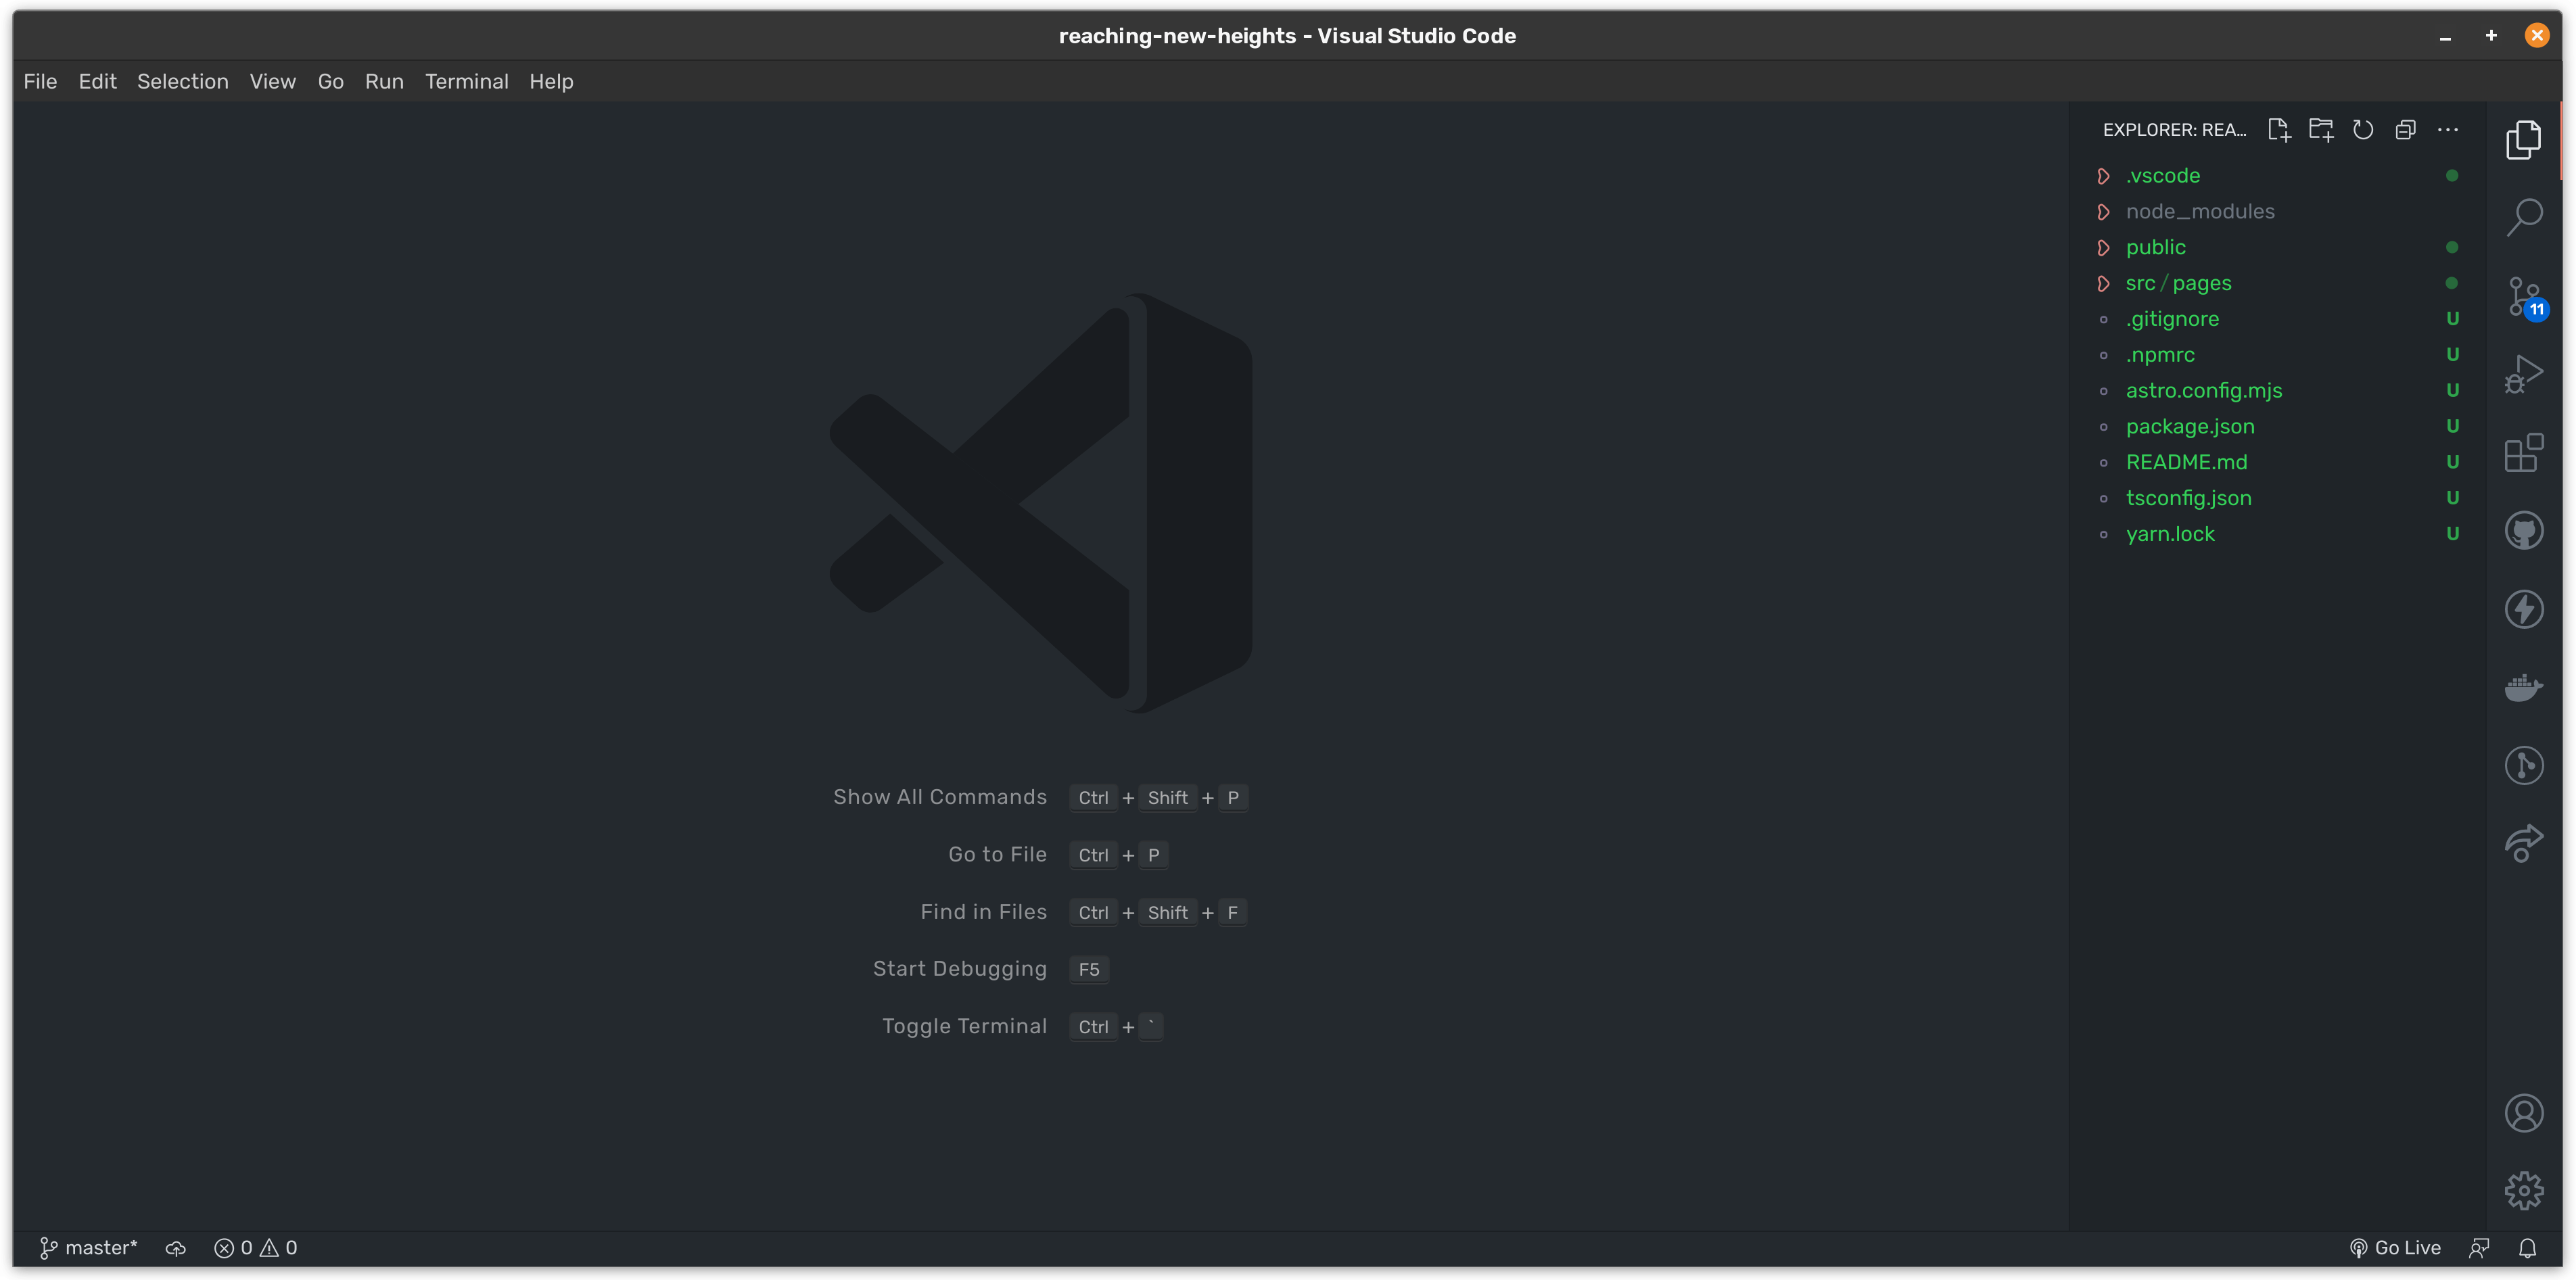
Astro uses an opinionated folder structure, so let's dig deeper and walk through how some of these files and folders should be used in an Astro project.
Required files and folders
An Astro project must include the following files and folders:
src/- Responsible for storing our components, pages, styles, layouts etc
public/- Responsible for storing static/unprocessed assets e.g fonts, icons etc
package.json- Our project manifest for Yarn, NPM etc
In our example you will also see an optional config file called astro.config.mjs. Although this is an optional file, the chances of you needing this file will be very high. We use the astro.config.mjs file to specify and initialise any integrations that we want to use. We can also use the config file to modify the default port number, the path for the public directory and many more options that you can read about here.
Use the src/ Luke
We mentioned earlier that the src/ directory is:
Responsible for storing our components, pages, styles, layouts etc
So let's go ahead and create a new page!
Create a file called about.astro in the src/pages/ directory and copy/paste the following code into your new file:
<html lang="en">
    <head>
        <meta charset="utf-8" />
        <meta name="viewport" content="width=device-width" />
        <title>About</title>
    </head>
    <body>
        <h1>About Astro</h1>
    </body>
</html>
Save the file, the dev server will automatically reload. You should now be able to visit the new about page in your browser at http://localhost:3000/about
Congrats! You just created your first page in Astro! Before we wrap up this quick introduction, you may have noticed that we're repeating some of the HTML in both of our .astro files, more specifically this:
<html lang="en">
    <head>
        <meta charset="utf-8" />
        <meta name="viewport" content="width=device-width" />
        <title>About</title>
    </head>
    <body>
Wouldn't it be great if we could create a layout, set the <title> dynamically and import the layout in our pages? Guess what? We can! So let's do it!
Staying DRY
It's a good practice to follow the DRY principle in programming. Templating languages make this easier for us because our views can inherit layouts. Layouts are a special type of Astro Component which contain re-usable markup that we would otherwise have to repeat.
To see this in action, create a new file called DefaultLayout.astro in src/layouts.
Next, we need to take the code from our two pages - don't worry about the content for now, we will modify the code in a moment. Copy the code below and paste it into your new layout file:
<html lang="en">
    <head>
        <meta charset="utf-8" />
        <meta name="viewport" content="width=device-width" />
        <title>About</title>
    </head>
    <body>
        <h1>About Astro</h1>
    </body>
</html>
Take a look at the code we have just written. The code on the homepage and about page is identical, with the exception of the text within the <title> element and the <h1> element.
Much like React or Vue, we can assign a "prop" to our layout component and reference this within our layout. In .astro files we can grab data from props with a single line of JavaScript that we write at the top of the file like so:
---
// Note, code within this block will only execute in the Node.js runtime.
// Client side JS should be written outside of this block!

console.log("I will run only on the server")
---
With that in mind, let's create a variable called title and assign the value of the title prop to it:
---
const { title } = Astro.props
---
Note: We're all human, you might forget to assign the title to one of your pages. We can protect our code against this with some Typescript, but we'll cover that another day. For now let's assign a default value to the title variable.
---
const { title = "Welcome to Astro" } = Astro.props
Now, we can use this title variable in our markup!
<html lang="en">
    <head>
        <meta charset="utf-8" />
        <meta name="viewport" content="width=device-width" />
        <title>{title}</title>
    </head>
    <body>
        <h1>{title}</h1>
    </body>
</html>
This code works, but what if we need to add more content to our pages? At the moment, the layout will only render a <h1> with our title. Well, much like children in React, Astro brings us the <slot /> element.
The Slot Element is a special element that we can use to inject HTML into our template (or any Astro component). To introduce a slot, update your layout code to the following:
<html lang="en">
    <head>
        <meta charset="utf-8" />
        <meta name="viewport" content="width=device-width" />
        <title>{title}</title>
    </head>
    <body>
        <h1>{title}</h1>
        <slot />
    </body>
</html>
We can do other fancy things with slots, but we'll take a look at those in a later post!
Load the Template
With the template ready, let's import it into our index.astro file:
---
import DefaultLayout from "./layouts/DefaultLayout.astro";
---

<DefaultLayout title="Hello There!">
    <p>
        This content will be loaded into the
        template via the slot element. The title above me should
        say Hello There!
    </p>
</DefaultLayout>
Head back to the browser and visit the homepage, it should look like this:
Conclusion
Alright, well done sparky! You have successfully:
- Created a new Astro Project
- Developed a re-usable Layout Component
- That can render a dynamic title from a prop
- Can render child elements with the
<slot />element
If you encountered an issue with any of the code, please let me know in the comments or hit me up on Twitter @jamiebradley234.
So what's next?
In my next article, we will take a deeper dive into Components. We'll look at how we can assign a name to our slots to target child elements to specific parts of a layout. We will also look at building framework specific components in Astro, and how we can conditionally hydrate them.